7 min read
Last updated: November 5, 2024
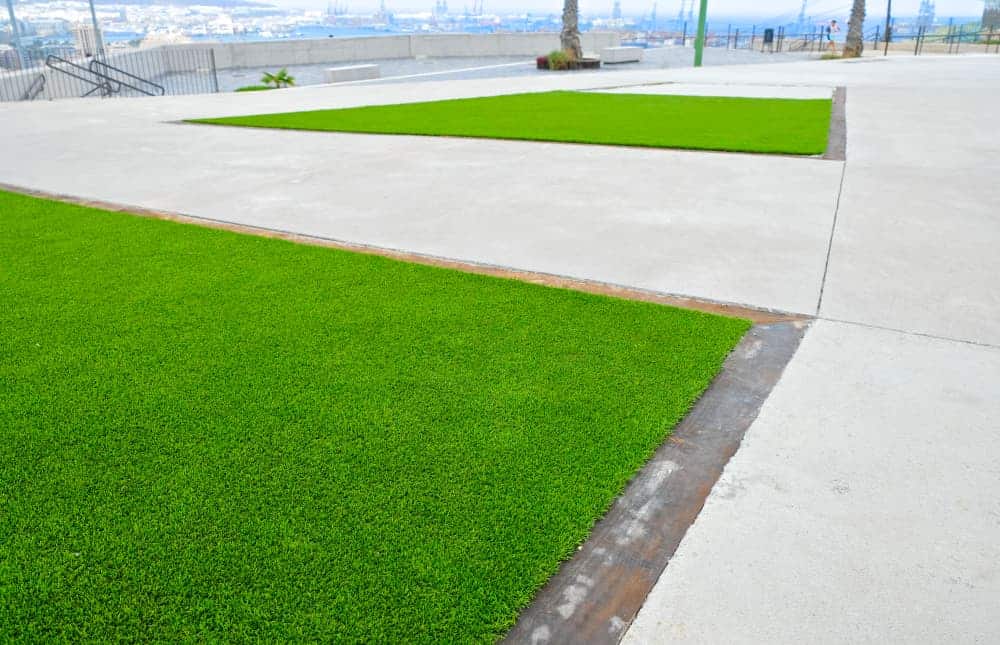
Artificial grass is a popular choice for homeowners looking to add a low-maintenance green space to their outdoor areas. If you have a concrete surface like a patio or courtyard, you might wonder if artificial grass can be installed on top of it.
The short answer is yes, but the process requires careful preparation and attention to detail to ensure a durable and aesthetically pleasing result.
In this guide, we’ll walk you through everything you need to know about installing artificial grass on concrete. We’ll cover the benefits, the tools you’ll need, and a step-by-step guide, all tailored to beginners in the world of DIY.
Benefits of Installing Artificial Grass on Concrete
Before diving into the installation process, let’s first look at why you might want to install artificial grass on concrete in the first place. Here are some advantages:
- Improved Aesthetic: Concrete surfaces can often feel dull and harsh, especially in outdoor spaces. Artificial grass adds a fresh, vibrant look, instantly transforming the area into a more inviting space.
- Comfortable Surface: Unlike hard concrete, artificial grass is soft underfoot, providing a more comfortable surface for walking, playing, or lounging.
- Low Maintenance: Once installed, artificial grass requires minimal upkeep. You won’t need to water, mow, or fertilise it, making it an ideal option for those looking for a hassle-free solution.
- Durability: High-quality artificial grass is designed to withstand foot traffic, pets, and the elements. When properly installed, it can last for years, even on top of concrete.
- Drainage: Modern artificial grass has excellent drainage capabilities. When installed correctly with a suitable underlay, it prevents water pooling, making it a functional solution even in rainy climates.
What You’ll Need
To get started, you’ll need some basic tools and materials. Don’t worry if you’re new to DIY – most of these items are readily available at local hardware stores, and the process is straightforward with the right instructions.
Materials:
- Artificial Grass: Measure your concrete area to determine how much grass you’ll need.
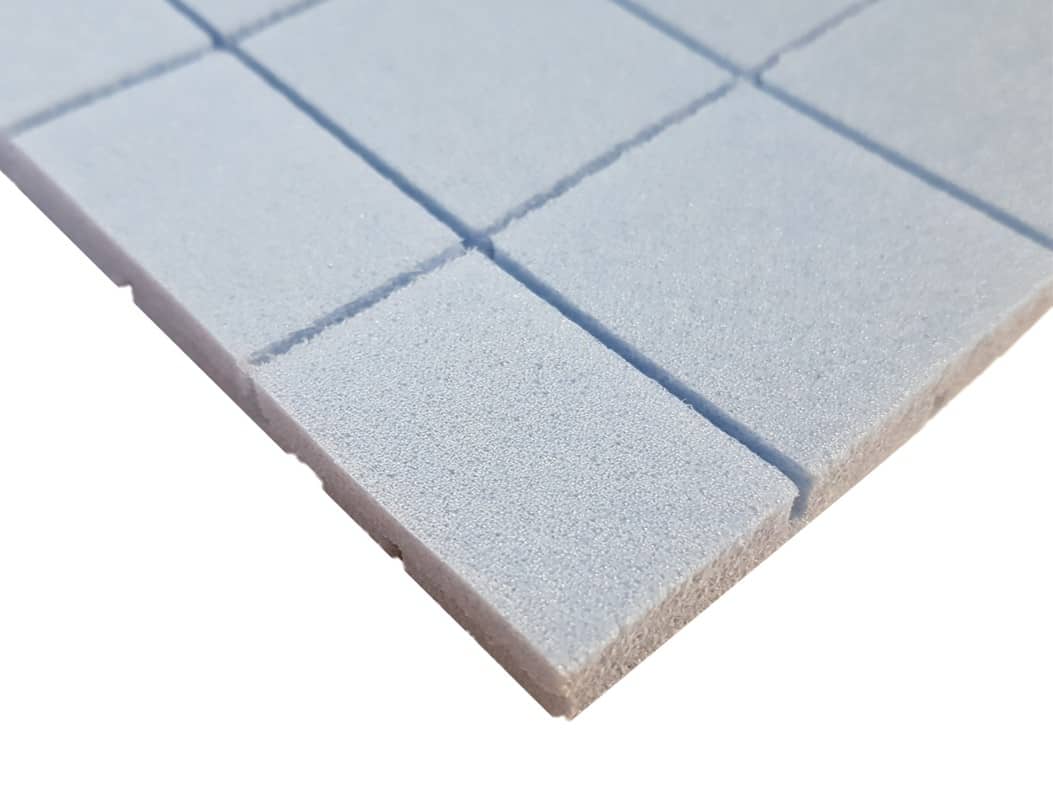
- Shockpad Underlay: This foam layer provides cushioning and aids drainage.
- Outdoor Adhesive: Specifically designed for use with artificial grass on hard surfaces.
- Joining Tape: For securing seams between sections of artificial grass.
- Self-Leveling Compound: If your concrete surface is uneven, this will help create a smooth base.
- Weed Membrane: Prevents weed growth beneath the grass.
Tools:
- Tape Measure: To measure your space and cut the grass to the correct size.
- Stanley Knife: For cutting the artificial grass.
- Trowel: To apply the adhesive.
- Roller: To smooth out the grass and ensure it adheres evenly.
- Broom: For cleaning the concrete surface before installation.
Step-by-Step Guide to Installing Artificial Grass on Concrete
Now that you have your materials and tools, let’s walk through the process of installing artificial grass on concrete.
Step 1: Prepare the Concrete Surface
The first step is ensuring that your concrete surface is clean, smooth, and free from debris.
- Clean the Area: Sweep the concrete thoroughly to remove any dirt, dust, or debris. A pressure washer can be useful for deep cleaning.
- Check for Cracks or Damage: Inspect the surface for any cracks or uneven spots. If there are large gaps or damage, use a self-levelling compound to fill them in. This will prevent any bumps or dips under your artificial grass.
- Allow to Dry: Make sure the surface is completely dry before moving on to the next step. This is crucial for the adhesive to bond properly.
Step 2: Install the Shockpad Underlay
A shockpad underlay serves two main purposes: it provides cushioning and allows for better drainage.
- Lay Out the Underlay: Roll out the shockpad across the surface of your concrete. Ensure that it covers the entire area.
- Trim to Fit: Use a Stanley knife to trim any excess material around the edges.
- Secure the Underlay: Use outdoor adhesive to glue the underlay to the concrete. Apply adhesive in small sections, and press the underlay firmly into place as you go.
Step 3: Roll Out the Artificial Grass
Now comes the exciting part—laying out your artificial grass.
- Roll Out the Grass: Start by rolling out the artificial grass over the underlay. Be sure to position it so that the fibres all face the same direction for a consistent look.
- Let It Rest: Allow the grass to settle for a few hours. This helps the fibres to stand up and reduces the chance of wrinkles.
- Trim to Size: Use your tape measure and Stanley knife to trim the grass to fit the space exactly. Be sure to leave a small gap (about 1 cm) around the edges for expansion in warm weather.
Step 4: Join Multiple Pieces (If Necessary)
If your concrete area is large, you may need to join several pieces of artificial grass together.
- Align the Seams: Lay the grass pieces side by side, making sure the fibres face the same direction.
- Apply Joining Tape: Place the joining tape between the two pieces and apply adhesive along the tape.
- Press Down: Press the two edges of the grass together firmly and smooth out the seam with a roller.
Step 5: Secure the Edges
Securing the edges of your artificial grass ensures it stays in place over time.
- Apply Adhesive Around the Perimeter: Lift the edges of the grass and apply outdoor adhesive underneath. Work in small sections to avoid the adhesive drying out.
- Press Firmly: Press the grass down firmly onto the adhesive, ensuring there are no gaps.

Step 6: Brush the Grass and Add Sand (Optional)
To give your artificial grass a natural look and improve its durability, you may want to brush the fibres and add kiln-dried sand.
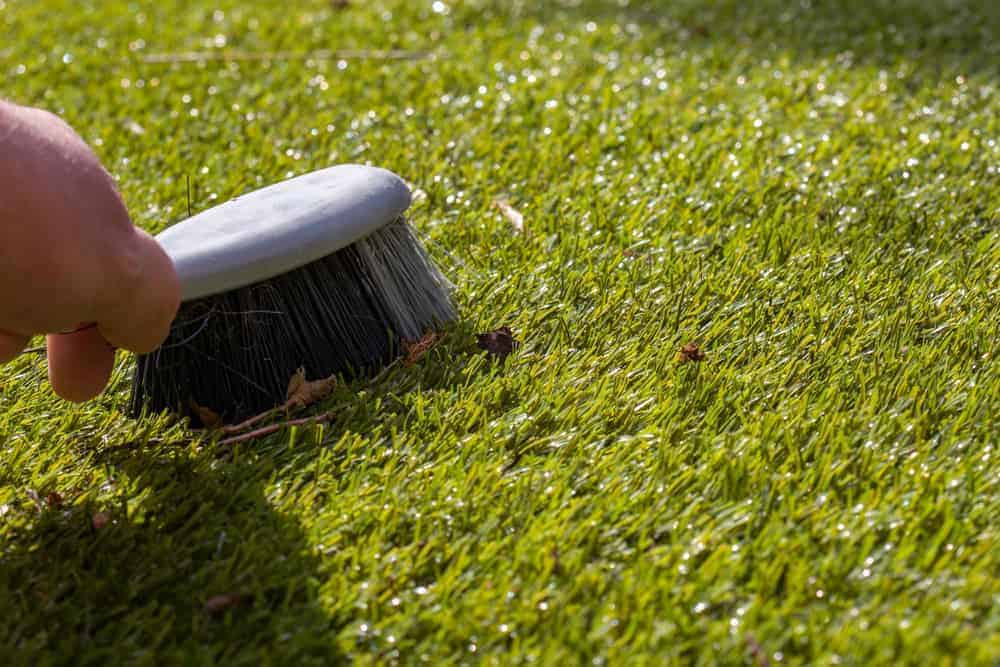
- Brush the Fibres: Use a broom to brush the fibres against the grain. This helps them stand up and look more realistic.
- Spread Sand: If you choose to add sand, spread a thin layer of kiln-dried sand evenly across the surface. Brush it in with a broom to ensure it settles between the fibres.
Common Mistakes to Avoid
For beginners, some common mistakes can happen during the installation process. Here’s how to avoid them:
- Skipping Surface Preparation: Failing to clean and level the concrete surface can lead to an uneven installation, with bumps and dips visible through the grass.
- Not Using Shockpad Underlay: Without an underlay, the artificial grass can feel hard underfoot and may not drain properly.
- Misaligned Seams: Be sure to align the fibres of adjoining pieces to avoid visible seams, which can ruin the overall look.
- Insufficient Adhesive: Using too little adhesive, especially around the edges, can cause the grass to lift or shift over time.
Maintenance Tips for Artificial Grass on Concrete
Once your artificial grass is installed, you’ll want to keep it looking its best. Here are a few maintenance tips:
- Regular Brushing: Brush the grass periodically to keep the fibres standing upright and remove any debris.
- Rinse with Water: Occasionally rinse the grass with water to remove dirt or dust, especially after a dry spell.
- Remove Stains Promptly: If any spills occur, clean them immediately with mild detergent and water.
Would this be suitable for a driveway?
Artificial grass is generally not suitable for driveways that support heavy vehicles due to the potential for damage from the weight and movement of cars. While artificial grass is durable and designed for foot traffic, it isn’t built to withstand the pressure from vehicles regularly driving or parking on it. Over time, the weight of the cars could flatten or damage the fibres, and the base underneath may become compromised.
However, if you still want a green aesthetic for your driveway, you could consider incorporating artificial grass between pavers or in smaller sections that don’t directly bear the vehicle’s weight.
Final Thoughts
Installing artificial grass on concrete is a fantastic way to revitalise your outdoor space without the hassle of maintaining natural grass. With proper preparation, the right tools, and careful attention to detail, even DIY beginners can achieve professional-looking results.
By following this guide, you’ll have a durable, comfortable, and visually appealing artificial lawn that transforms your concrete surface into a lush green oasis. Feel free to contact our friendly team today, browse our extensive range of artificial grass or request free samples to experience the quality and appearance of our products firsthand.
Related Category: Artificial Grass FAQ
